Replacing the Wick (Queue, Sigaretta lighters)
Step 1.
First remove the screw from the bottom of the lighter as you would when filling the lighter.
Step 2.
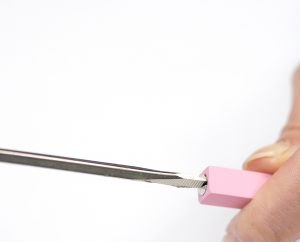
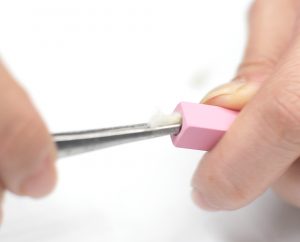
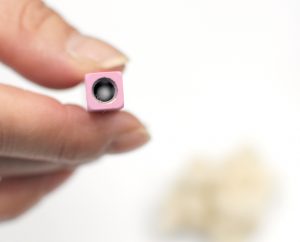
Next remove from the bottom of the lighter the cotton wadding that fills the tank. DO NOT DISPOSE OF THE WADDING as you will need this to refill the tank. This can be done with tweezers, tiny knitting needles or similar implement. Once all the cotton wadding and the remainder of the wick have been removed, you should be able to look into the fuel tank chamber and see light shining in where the wick should protrude from at the top of the lighter.
Step 3.
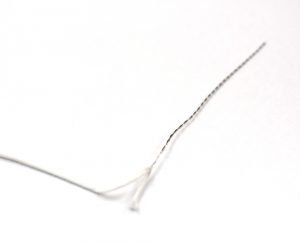
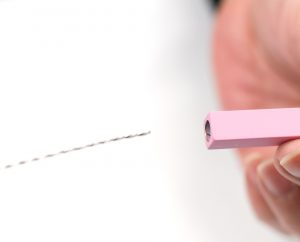
Wrap a length of wire roughly 1 cm from one end of the length of wick (see attached picture) using a twisting motion*.
Step 4.
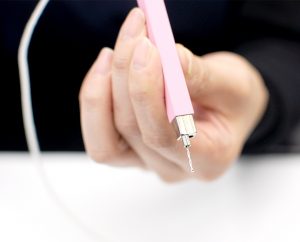
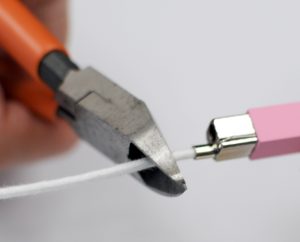
Thread the end of the wire through the lighter tank from the bottom and out through the wick hole at the top of the lighter. Once the end of the wire is through the wick hole pull the wire and wick through until the end of the wick just disappears into the fuel tank. Then cut the wick so that roughly 3 to 4mm are protruding from the top of the lighter. Nail clippers are also good tool for cutting the wick.
If you are not using our pre-wired wick, we recommend thinning down the tip of the wick by removing 2-3cm of its ‘core.’ This helps to reduce the size of the wick at its tip, so that it is easier to get through the wick hole.
Step 5.
Replace the cotton wadding into the bottom of the tank using a long thin implement such as a pair of tweezers. A twisting motion is best as you push the cotton into the fuel tank.
Step 6.
Fill your lighter with lighter fluid and replace the tank screw. Your lighter should be ready for use once the fuel has had time to soak into the cotton tank filler (see maintenance section for refilling).
*You can purchase ready-made wick replacements from Tsubota Pearl using the MAIL FORM at the top of the web page.

